Immersion Dripper 101: The “Easiest” Brew with the Clever and Hario Switch
How it differs from percolation, set-and-forget repeatability, and being hard to mess up
Pour-over looks hard — that’s exactly who should try an “immersion dripper.” Pour the water, then just wait and let it drain. This type, led by the Clever and the Hario Switch, isn’t swayed by pouring skill and brews a surprisingly stable cup. We explain the difference from percolation, how to brew, and how to use each.
Contents · 11
- Immersion vs percolation — what’s different?
- Representative immersion drippers
- Why it’s easy and hard to mess up
- Brewing — the basic steps
- Step 1: Set the paper and rinse it
- Step 2: Add grounds and pour the water all at once
- Step 3: Stir lightly, put the lid on, and wait
- Step 4: Set it on a server and drain it fully
- How to use it vs percolation (V60)?
- Who it suits
- Frequently asked questions
“Pour-over is hard to pour, and the taste varies every time” — the immersion dripper solves that worry at a stroke. Pour the water, then just wait and let it drain at the end. It combines the “ease of steeping to extract” of a French press with the “clean taste” of paper drip — a best-of-both brewer. We explain its appeal around the flagships: the Clever and the Hario Switch.
Immersion vs percolation — what’s different?
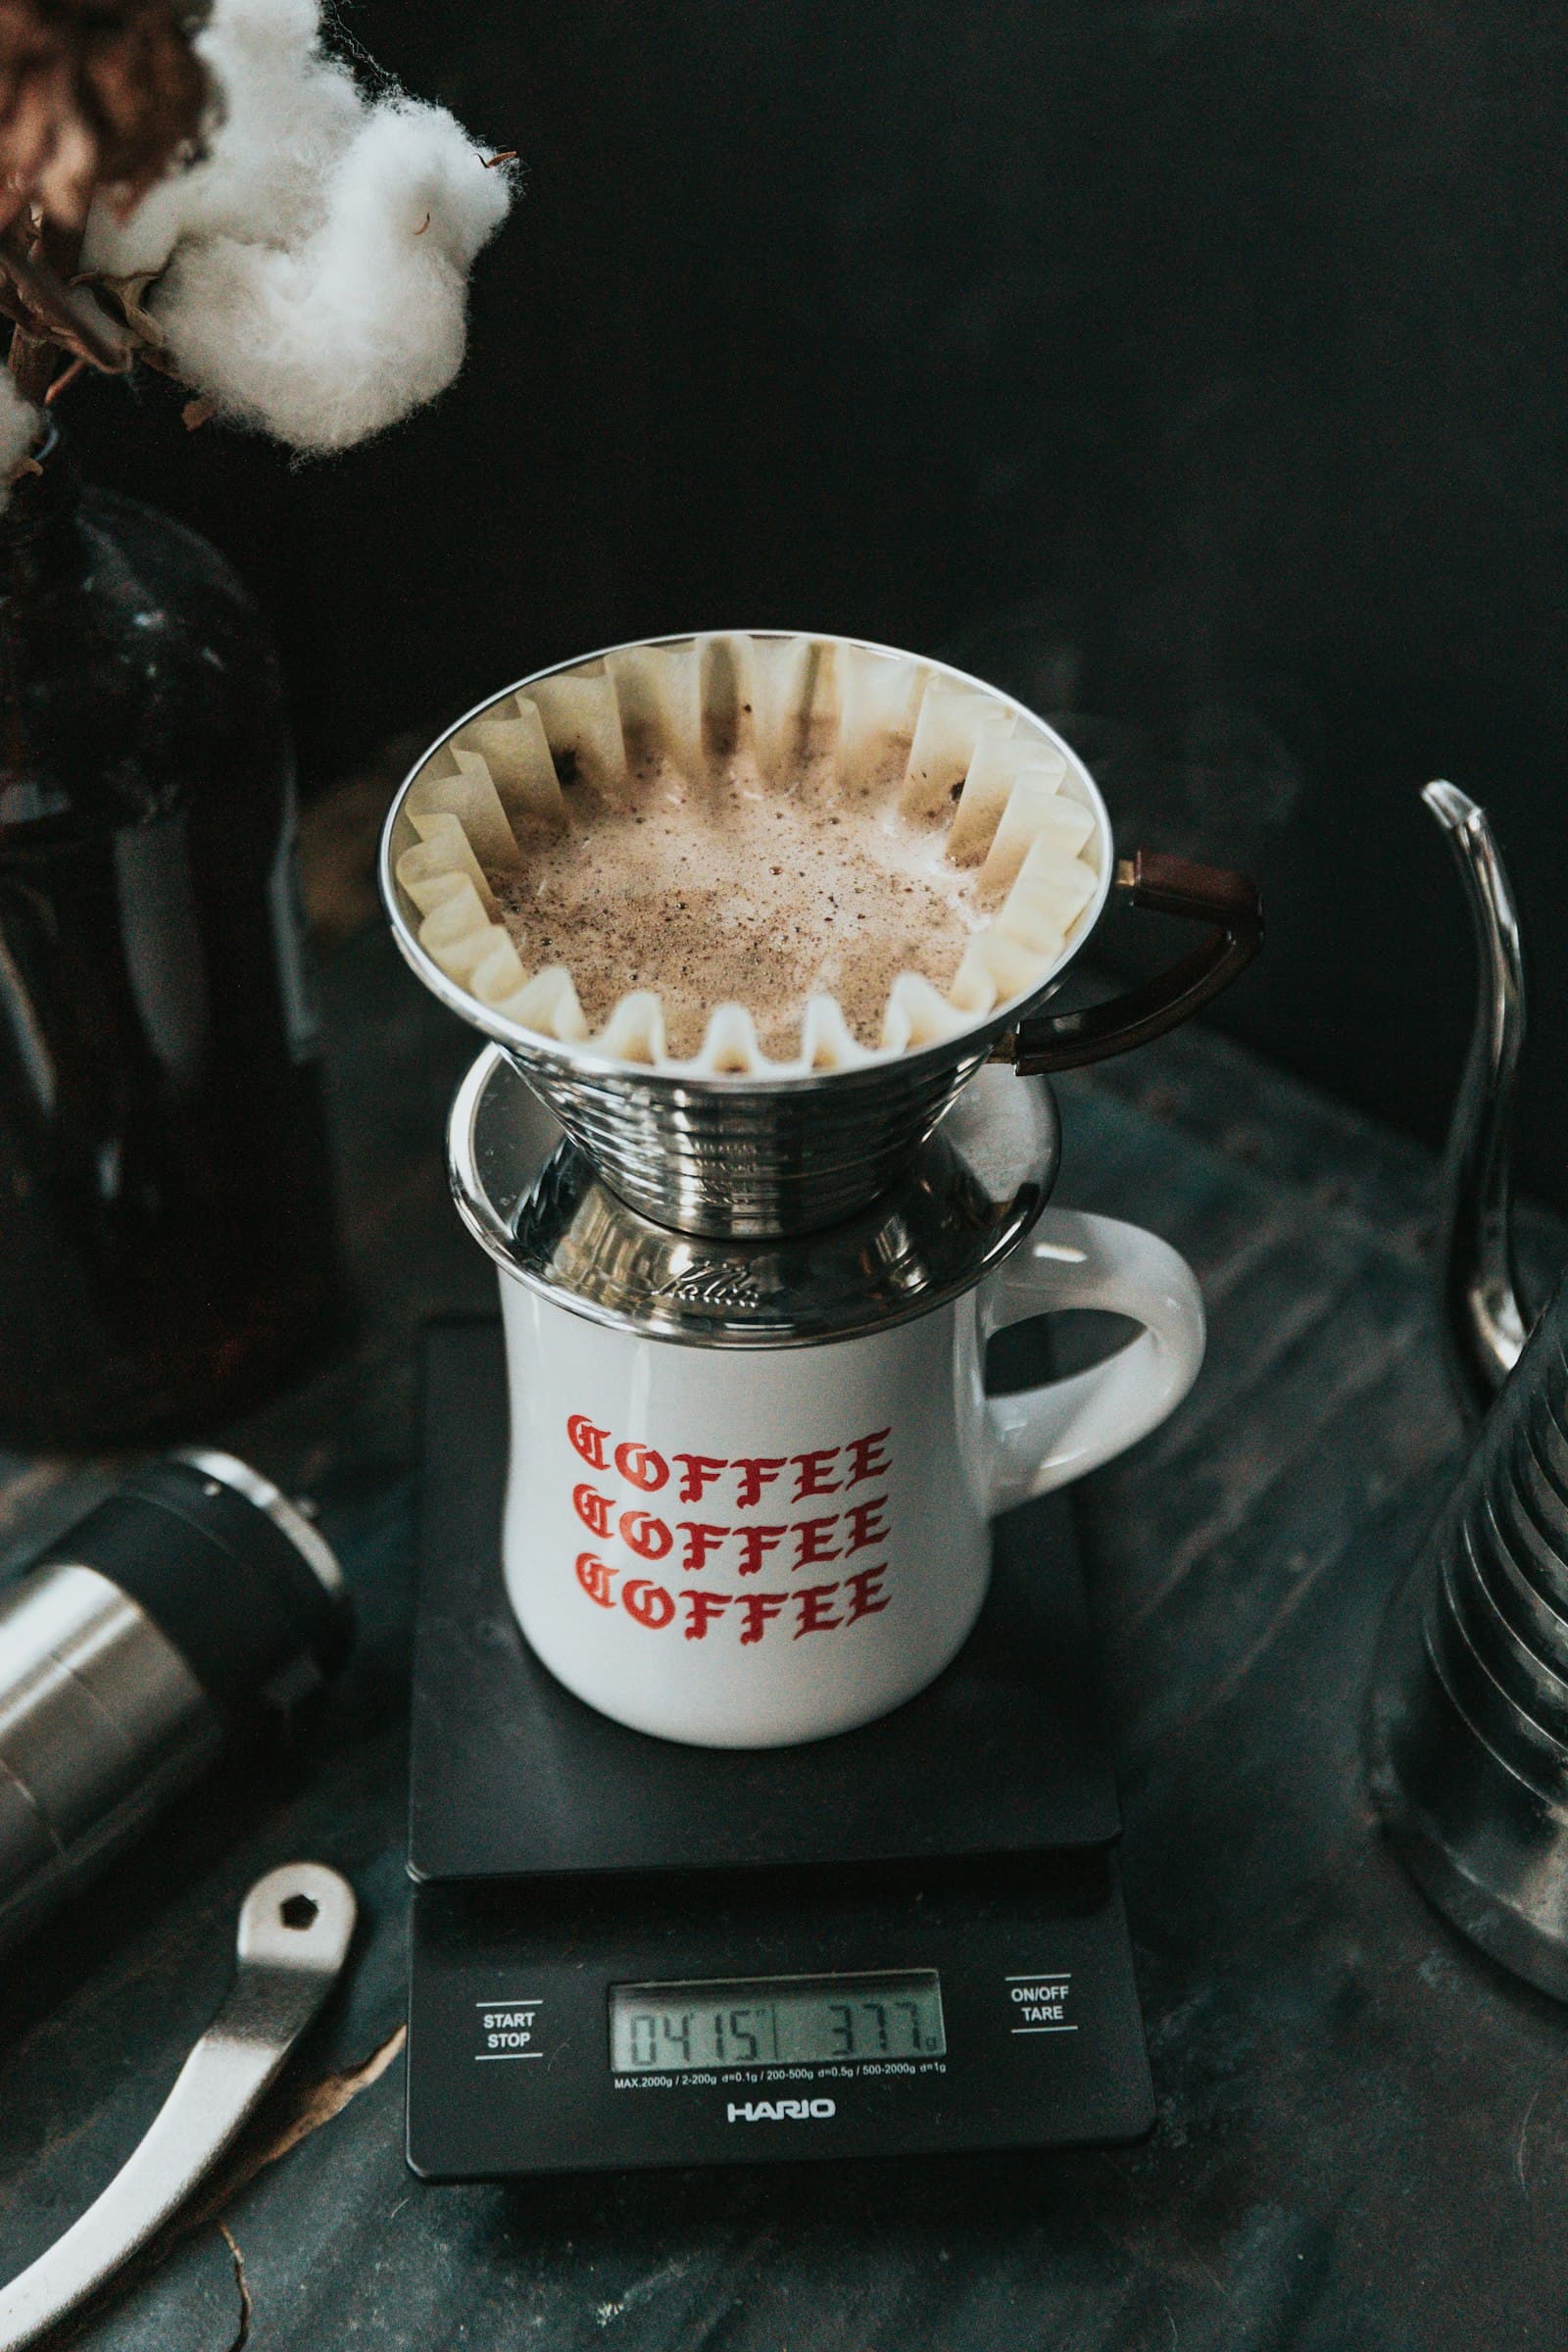
Drippers fall into two broad types: “percolation,” represented by the V60, and “immersion,” like the Clever. Knowing the difference shows why immersion is easy.
- Percolation (V60 etc.): water extracts as it passes down through the bed of grounds. Taste changes with how and how fast you pour — it takes skill
- Immersion (Clever etc.): grounds steep in water, and when the time is up a valve opens to drain it all at once. Pouring unevenness matters little
- Hybrid: most immersion drippers use paper, so there’s less fine sediment than a French press — cleaner
Immersion is a hybrid of “the French-press principle (steep to extract)” and “the strength of paper drip (a clean taste).” It also suits people who disliked the grittiness of a French press.
Representative immersion drippers
- Clever Dripper: the standard, with a valve at the base that opens when set on a server. Lidded, so it holds heat well too
- HARIO Switch: a V60 shape plus a base valve switch, letting you toggle immersion and percolation — a popular model
- December Dripper: a popular overseas device with infinitely adjustable drain speed
- Others: valve-equipped immersion drippers are increasing from many makers; you can often reuse paper you already have
Why it’s easy and hard to mess up
Percolation changes a lot with “how you pour,” so it takes skill and focus. Immersion’s biggest advantage is that all the grounds soak evenly in the water, so pouring unevenness barely shows. Taste is decided mainly by the two simple variables of “grind” and “steep time,” so it is highly repeatable and even a beginner can brew a stable cup.
Brewing — the basic steps
Brew at a ratio of about 1:15–1:16 with a medium-coarse grind. Example: 15g grounds + 240g water. A scale makes it more stable.
Step 1: Set the paper and rinse it
Set the paper in the dripper and rinse it with hot water to flush off the paper smell. This also warms the gear and stabilizes the brew. Discard the rinse water.
Step 2: Add grounds and pour the water all at once
Add the medium-coarse grounds and pour the set amount of water (90–94°C) in one go. You don’t need the thin, circular pour of percolation. It’s fine as long as everything soaks evenly.
Step 3: Stir lightly, put the lid on, and wait
Give it one light stir with a spoon to settle the grounds evenly, put the lid on, and wait. The guide is one and a half to three minutes. The longer you wait, the stronger and fuller the taste.
Step 4: Set it on a server and drain it fully
When the time is up, set the dripper on a server or cup. The base valve opens and the coffee starts to drain, so let it drain fully to finish. Allow about a minute for it to drain out.
Basic immersion ratio (1:16)
Beans 15g / Water 240g
Adjust strength with “grind” and “steep time.” If it’s weak, grind a touch finer or extend the time; if it’s too strong or harsh, go coarser or shorten the time. Because you don’t fuss over pouring, the adjustment is simple.
How to use it vs percolation (V60)?
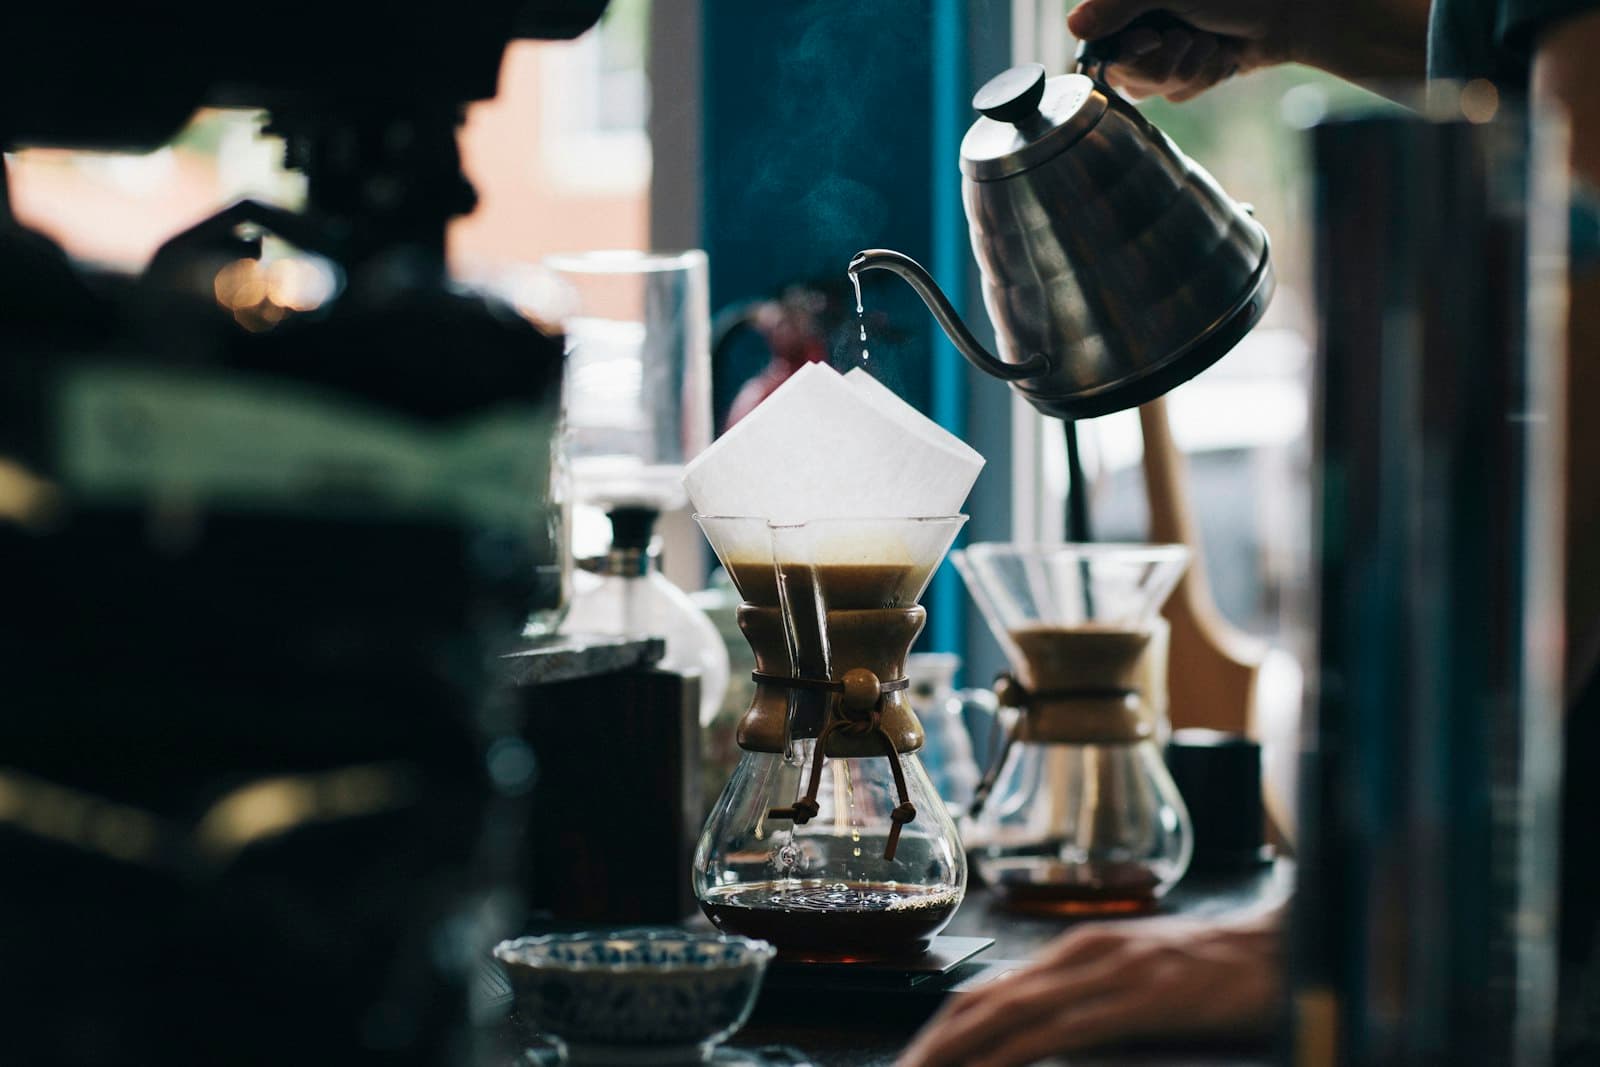
- Immersion: stable, easy, repeatable. For busy mornings or days you don’t want the taste to wobble
- Percolation (V60): you can craft expression with the pour. For days you want to push a bean’s character or enjoy brewing
- Bottom line: build a base with immersion first, then widen your range with percolation once used to it
Who it suits
- Pour-over beginners: hard to fail, and you can experience “delicious” first
- Busy mornings: you can leave it to drain, and get ready in the meantime
- The office: you can brew stably even without a gooseneck kettle
- People who want it tea-like: immersion feels as easy as a tea bag
- Several cups at once: a larger size brews multiple cups in one go
Frequently asked questions
How is it different from a French press?
Both “steep to extract,” but a French press uses a metal filter that leaves more fines and oils, giving a heavy, gritty body. An immersion dripper passes through paper, so the taste is cleaner with fewer fines. Cleanup is also easy — just toss the paper.
What grind should I use?
Medium-coarse (a bit coarser than paper drip) is the baseline. Because the steep time is on the longer side, too fine over-extracts into bitterness and harshness. If it tastes weak go a little finer; if bitter go coarser — fine-tune with grind and time.
Clever or Hario Switch — which should I choose?
Choose by the gear you have and your preference. The Clever is lidded with good heat retention, a standalone immersion dripper using trapezoid paper — suited to beginners who want it all in one unit. The Hario Switch has a V60 shape whose base switch toggles immersion and percolation, with the advantage that it uses V60 paper you may already own. If you already have a V60 and want to widen your range, the Switch; if you simply want to brew without fail, the Clever is the easy pick.
What is a good guide for the steep time?
Three to four minutes total is the baseline. Pour the water, steep for about 1.5–2 minutes, then open the switch or valve to drain fully. The longer you steep, the stronger and more extracted it gets, so if it is weak extend the time or grind finer; if bitter, shorten it or go coarser. There is no need to craft it with the pour as in percolation — being able to move the taste with the single knob of "steep time" is the immersion method's clarity.
The immersion dripper lightly overturns the belief that “delicious coffee is hard.” Before agonizing over pouring technique, start with a cup that just steeps and waits. Once you have a base that’s reliably delicious, stepping into the world of percolation and recipes from there becomes a lot more fun.
Was this article helpful?
Choose & compare
Related links
More articles
Complete Guide to Nel Drip — The Kissaten’s “Velvety Cup” at Home
BrewingThe Complete Guide to Dialing In Espresso: The Science of Fixing Sour and Bitter Yourself
BrewingThe Coffee-to-Water Ratio: Set Your Flavor by the Numbers, From One Cup to a Crowd
BrewingWater Changes the Taste: The Science of Coffee and Water