The 4:6 Method: Brew Tetsu Kasuya’s World-Champion Recipe at Home
Just split your water into “4” and “6” — and steer taste and strength separately
The 4:6 method was devised by Tetsu Kasuya, the first Asian to win the World Brewers Cup (2016). You split your brew water into the first 40% and the remaining 60%: the front half controls taste (the balance of acidity and sweetness), the back half controls strength. Because the variables are separated, it is easy for beginners to reproduce yet endlessly adjustable. Here is the logic and the step-by-step, with the numbers.
Contents · 9
- What the 4:6 method is — steering “taste” and “strength” separately
- What you need, and the base numbers
- Step 1: Grind the beans and ready the water
- Step 2: Decide the taste with the first 40% (120g)
- Step 3: Decide the strength with the remaining 60% (180g)
- Step 4: Let it draw down and finish
- Adjusting the taste — the two-dial cheat sheet
- Where people trip up
- FAQ
Hand drip is deep, but it can be hard to know “what to change to change the taste.” Tetsu Kasuya’s 4:6 method clears that fog at a stroke. With the recipe that made him the first Asian World Brewers Cup champion in 2016, you divide your water into just two groups — and that lets you move taste and strength separately, and on purpose.
The core of the 4:6 method: split all your water into “the first 40%” and “the remaining 60%.” The first 40% decides the balance of acidity and sweetness (the direction of the taste); the last 60% decides the strength (light/strong). Because the two dials are independent, you can change strength without disturbing taste, and vice versa.
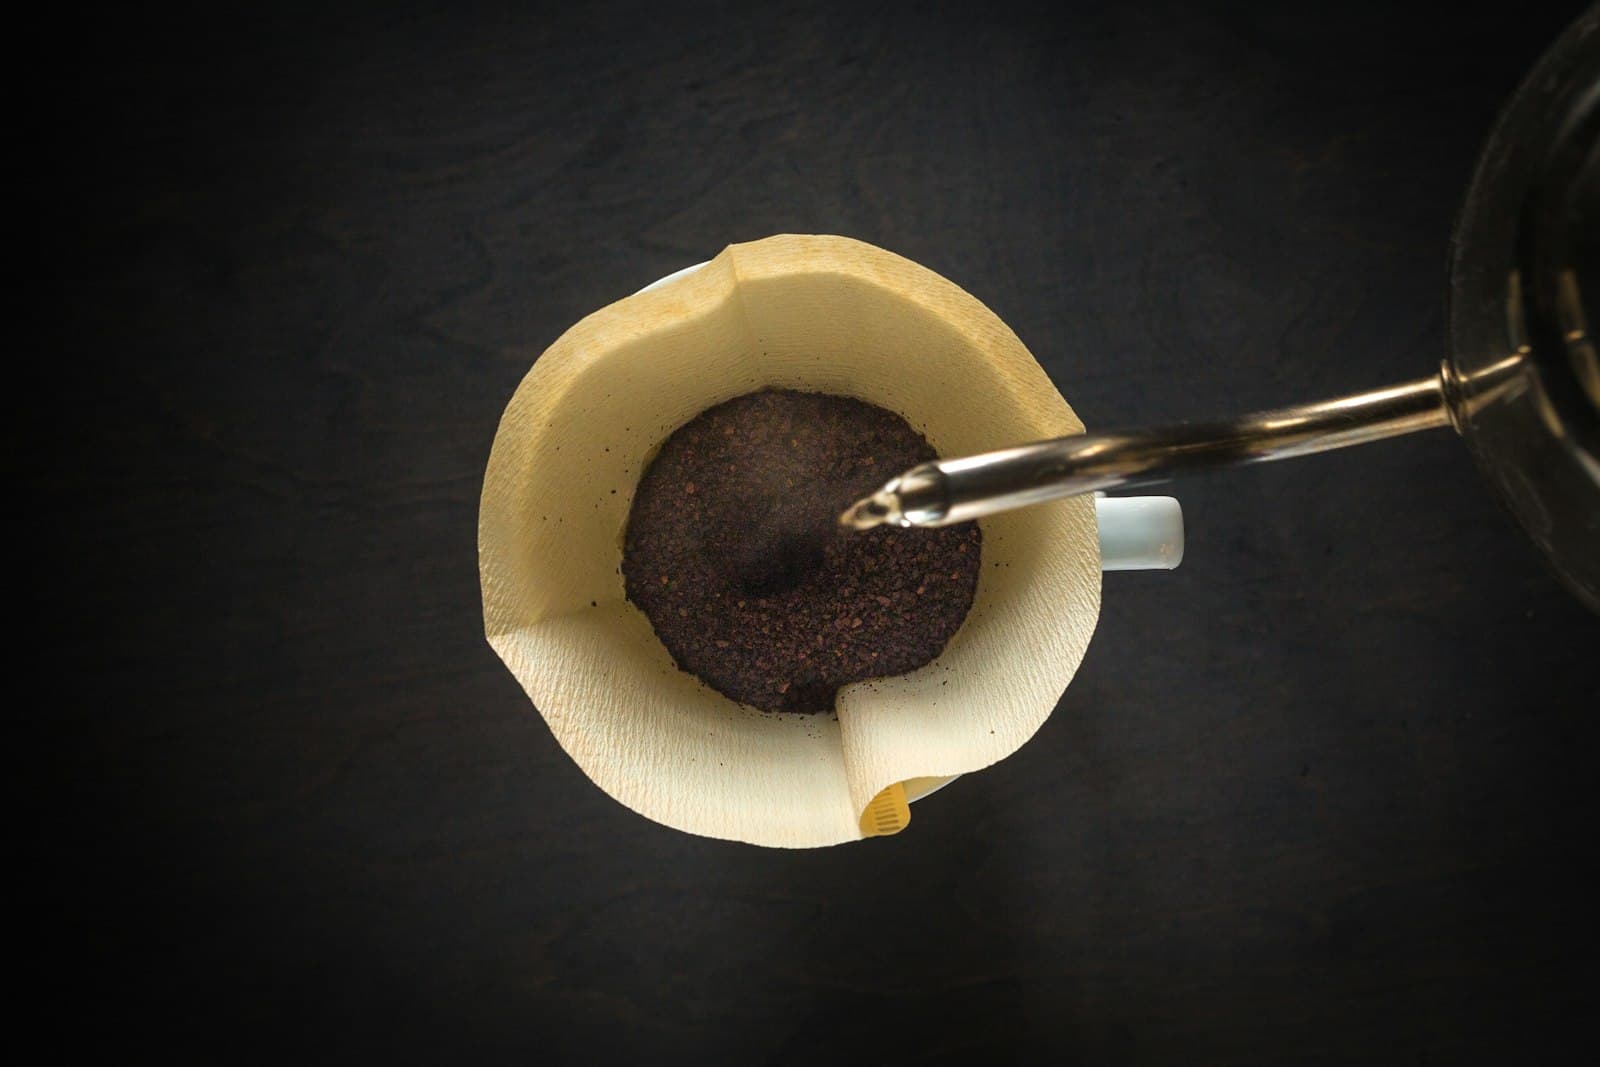
What the 4:6 method is — steering “taste” and “strength” separately
Most older recipes ask you to memorize steps like “pour in N parts,” without showing why. The 4:6 method splits the water by function. The first 40% controls the acidity and sweetness that come out of the grounds first; the last 60% controls the overall concentration (strength). By assigning clear roles, adjustment becomes logical.
- First 40% (the taste dial): pour “less → more” for sweetness, “more → less” to lift bright acidity
- Last 60% (the strength dial): the more pours you split it into, the stronger; fewer, the lighter
- The two are independent: hold the taste direction and change only strength, or the reverse
What makes this strong for beginners is that the variables are separated. Normally grind, water temperature and pouring all act at once and you can’t tell what caused what; with 4:6, “front = taste” and “back = strength” map one-to-one. Change just one thing per brew and you close in on your preference fast.
What you need, and the base numbers
No special gear required. If you have a conical dripper like the Hario V60, you can start. Here is Kasuya’s base setting.
- Dripper: a Hario V60 (conical, one large hole) is the base. Easy to control the flow rate yourself
- Scale: ideally 0.1g resolution with a built-in timer. Makes “when and how many grams” visible
- Grind: coarse (between coarse sugar and granulated sugar)
- Water temperature: around 92°C (a touch higher for light roasts, lower for dark is fine)
- Ratio: 20g coffee : 300g water (1:15) as the base
Base ratio 1:15 (20g coffee : 300g water)
Beans 20g / Water 300g
Step 1: Grind the beans and ready the water
Grind 20g of beans coarse, set the paper in the dripper, and level the bed. Heat 300g of water to around 92°C. Place it on the scale, zero it, and ready the timer. Coarse grind plus 1:15 is the golden setting where water flows through cleanly and harshness stays away.
Step 2: Decide the taste with the first 40% (120g)
40% of the 300g total — 120g — is poured in two parts. The first pour blooms; the second comes about 45 seconds later. For balance, 60g then 60g. For more sweetness and a lower center of gravity, less then more (e.g. 50g → 70g); for a brighter, juicier cup, more then less (e.g. 70g → 50g). This front-half split decides the cup’s personality.
Step 3: Decide the strength with the remaining 60% (180g)
Add the remaining 180g before the water level drops out. For standard strength, 60g × 3 pours (five pours in total). For a stronger, firmer cup, split it finer into 45g × 4; for a lighter, cleaner cup, reduce to 90g × 2. The more you split the pours, the more contact between water and grounds — and the stronger the extraction.
Step 4: Let it draw down and finish
Once you finish the last pour, just let it draw down naturally. Total brew time of around 3 minutes 30 seconds is the guide. If it is much faster or slower, adjust with the grind (too fast = finer, too slow = coarser). When it has drained, remove the dripper, give the server a gentle swirl, and pour.
Quick reference for the base recipe (balanced, standard strength): 20g coffee / 300g water / coarse grind / 92°C. 0:00 → 60g (bloom), 0:45 → 120g, 1:30 → 180g, 2:15 → 240g, 2:45 → 300g, draw down by around 3:30. Brew one cup exactly like this first and let your body learn the baseline taste.
Adjusting the taste — the two-dial cheat sheet
After tasting your baseline cup, if you think “a little more like this,” change only one thing at a time. Keep the front half (taste) and back half (strength) separate.
- Sweeter, rounder → pour the front half “less → more” (e.g. 50g → 70g)
- Brighter, juicier → pour the front half “more → less” (e.g. 70g → 50g)
- Stronger, firmer → split the back half finer (45g × 4, etc.)
- Lighter, cleaner → pour the back half in fewer parts (90g × 2, etc.)
- Still not right → move the grind by one step only (finer = stronger and longer, coarser = lighter and shorter)
Where people trip up
- Changing several things at once: you lose track of the cause. Always one variable — front or back
- Clogging with a fine grind: 4:6 assumes a coarse grind. Too fine and water won’t pass, turning it bitter and heavy
- Pouring too forcefully: it digs and unevens the bed. Pour gently from the center in a spiral
- Eyeballing without a scale: no reproducibility, so adjustment is meaningless. Grams and seconds are essential
FAQ
Does it have to be a coarse grind and 1:15?
Of course not. Once your body knows the base, you can move toward your own taste — a 1:16 ratio for a lighter cup, a medium-coarse grind for more concentration. But at first, build the “baseline taste” with the base setting, then change one variable at a time — that is the fastest way to improve.
What water temperature should I use?
Around 92°C is the easy standard. For light roasts, a touch higher (93–96°C) to draw out acidity and aroma; for dark roasts, a touch lower (85–90°C) to tame bitterness. For how temperature moves the taste, see our water temperature article.
Does it have to be a Hario V60?
Not strictly, but Kasuya assumes a conical single-hole V60 with a free-flowing rate. You can adapt it to a trapezoidal Kalita (three holes), but the drawdown changes, so learn the basics on a V60 first. For differences between drippers, see our paper filter article too.
The real value of the 4:6 method is not memorizing one recipe but the idea itself: taste and strength can be moved separately. Once you hold this map, whatever beans arrive, you can aim for the cup you want from the very first brew. Start with the base recipe — from there, just turn the two dials to your taste.
Was this article helpful?
Choose & compare
Related links
More articles
Complete Guide to Nel Drip — The Kissaten’s “Velvety Cup” at Home
BrewingThe Complete Guide to Dialing In Espresso: The Science of Fixing Sour and Bitter Yourself
BrewingThe Coffee-to-Water Ratio: Set Your Flavor by the Numbers, From One Cup to a Crowd
BrewingWater Changes the Taste: The Science of Coffee and Water