Home Roasting 101: Roasting Your Own Green Beans for the Freshest Possible Coffee
Frying pan, hand-net, popcorn popper, dedicated roaster — the science and practice of roasting, starting small
Coffee’s taste is decided in the roast — so why not roast your own? Home roasting is a hobby with a winning trio: the freshest possible coffee, cheaper green beans, and total control over the taste. You don’t need a dedicated roaster; you can start today with a hand-net, a frying pan or a popcorn popper. What happens inside the bean as it roasts (first crack / second crack), the pros and cons of each method, a first 100g recipe, and tips to avoid failure — the science and practice of roasting, all in one go.
Contents · 9
- Why roast your own
- What happens inside the bean (the science)
- First crack and second crack
- Four roasting methods — easiest first
- Your first roast (hand-net / hot-air, 100g recipe)
- Five variables that make a roast consistent
- Don’t drink it right away — the “degassing” time
- Common failures and fixes
- Frequently asked questions
Along with origin, the direction of coffee’s taste is largely decided by the “roast.” So why not roast it yourself? For anyone who has had that thought, home roasting is a surprisingly open world. You don’t need a dedicated roaster — you can start today with a hand-net, a frying pan or a household popcorn popper. Green beans are cheaper than roasted, keep for a long time, and let you control the drinking window yourself. This article walks carefully from what happens inside the bean to your very first roast.
Why roast your own
- Freshness: roast on your own schedule. You don’t just know the roast date — you create it
- Cost: green beans are often cheaper than roasted; it pays off the longer you continue
- Freedom: design from light to dark to taste, and blend freely
- Shelf life: stored well, green beans keep for over a year; roasted beans fade within weeks
- Fun: a hobby that uses all your senses — chasing changes in aroma and sound is fascinating
Roasted beans have a short freshness window and pass their peak within weeks. Green beans, kept cool, dry and dark, hold their quality for over a year. “Roast only as much as you’ll drink” is the shortest path to the freshest coffee.
What happens inside the bean (the science)
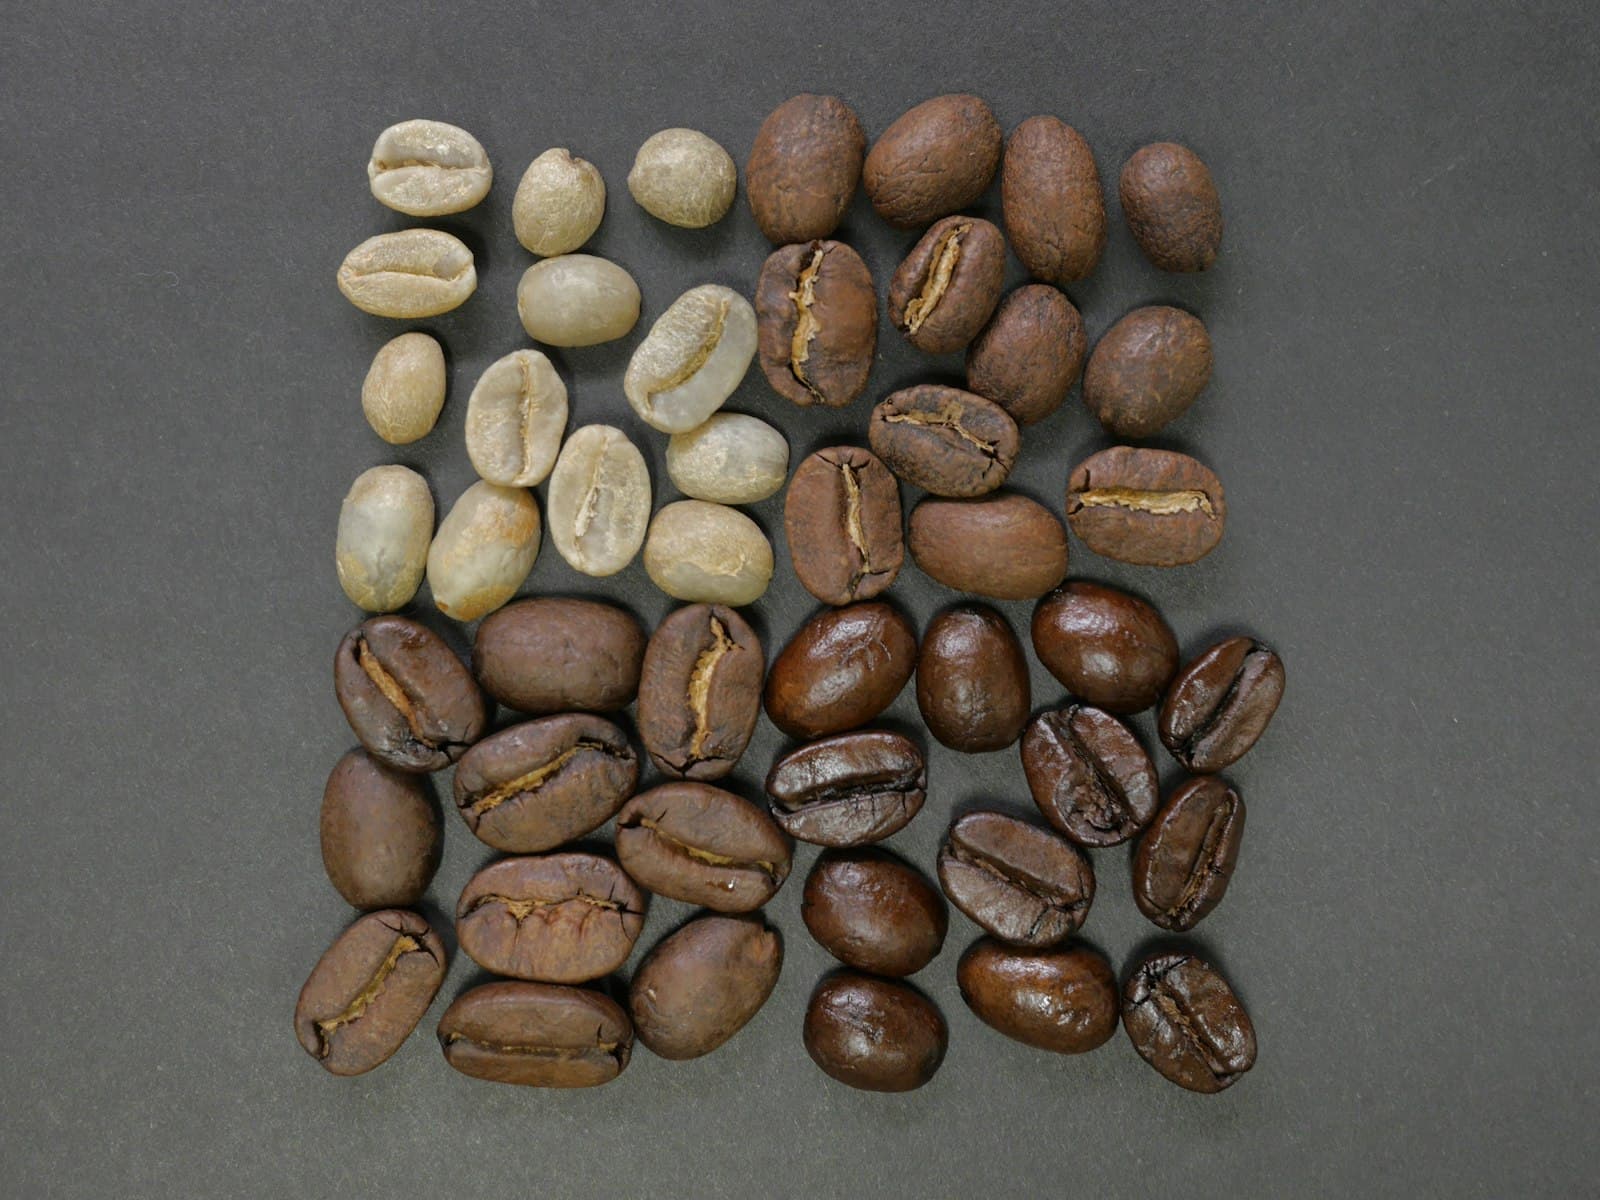
Roasting is the chemical reaction that turns a green, grassy raw bean into a “drinkable” one. First the moisture leaves and it turns yellow (drying); then the Maillard reaction and caramelization brown it, creating toasty aroma and the seeds of sweetness and acidity. At first heat-absorbing (endothermic) reactions proceed; at some point the bean itself starts releasing heat (exothermic). Around that turning point, the famous “cracks” occur.
- Green: green to olive. Grassy, with no coffee aroma yet
- Yellow: moisture has left and it yellows. Bread- or grain-like aroma
- After first crack: it browns. The light-to-medium zone. Bright acidity and aroma
- Around second crack: dark brown to black, oil on the surface. The dark-roast zone. Bitterness and richness
- Over-roasted: it carbonizes, smoke increases, the taste flattens — and fire risk rises
First crack and second crack
The roast’s “cues for the ear” are two cracks. First crack is a “pop-pop” as internal steam and pressure burst the bean — much like popcorn popping. This is the start of light roast. Keep heating and a finer, higher “snap-snap” second crack follows, the marker of dark roast.
First crack happens around a bean temperature of 196–205°C, second crack around 224–230°C (varies with bean and setup). Where you cut the heat sets the roast level: just after first crack = light, between first and second = medium, around second = dark. See the roast level guide for more.
Four roasting methods — easiest first
① Frying pan / pot
- Cost: nearly zero (what you have at home). The most casual way to try
- How: low-to-medium heat, stir constantly, no lid, 10–15 minutes
- Downside: the heated face goes uneven easily; smoke and chaff (silverskin) appear
- For: those who first want to feel what roasting is like, in a small test
② Hand-net (ginnan roaster)
- Cost: about ¥2,000. The best value entry tool
- How: shake the net constantly over a gas flame for 10–15 minutes
- Downside: your arm tires; lots of chaff and smoke, so ventilation is a must
- For: the classic beginner choice for getting serious — cheap to start and full of lessons
③ Popcorn popper (hot-air)
- Cost: a few thousand yen. A classic “hack” that agitates beans with hot air
- How: load a small batch (50–100g) and switch on. Fast, about 4–6 minutes
- Downside: small batches; on some models it runs too hot and the stopping point is tricky
- For: those who don’t want to keep moving their hands — a good balance of evenness and ease
④ Dedicated roaster
- Cost: ¥20,000 to over ¥100,000; drum or hot-air types
- How: control temperature and time, making the same taste easy to reproduce
- Downside: price and footprint, plus you need to handle smoke and exhaust
- For: those hooked on roasting who want repeatability — the hobby’s destination
Your first roast (hand-net / hot-air, 100g recipe)
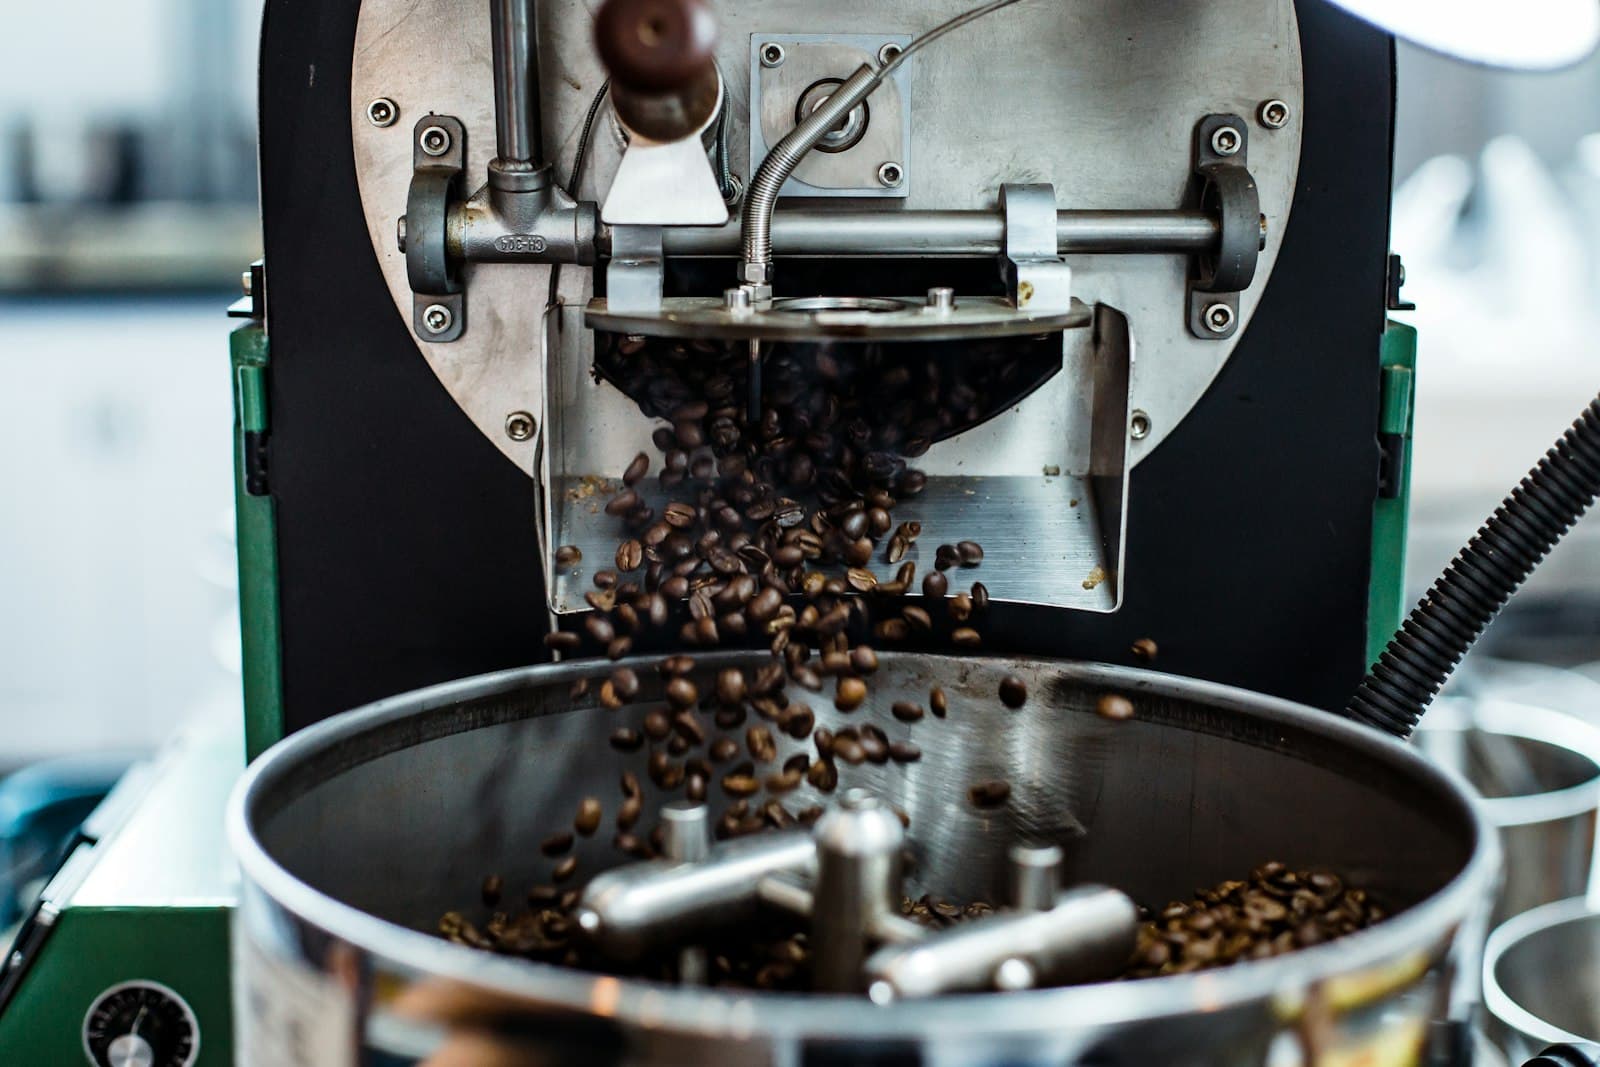
Start with a small 100g batch. Too much and the heat won’t reach evenly, giving an uneven roast. Work near the sink, under a range hood, and ideally outdoors or on a balcony.
- Prep: 100g green beans, two colanders (for cooling), work gloves, a timer. Secure ventilation
- Start heating: medium. Keep the beans moving constantly so heat hits them evenly
- Chase the color: green → yellow → light brown. Aroma shifts from grassy to toasty
- Listen for first crack: when the pop-pop begins you’re in the light zone; color deepens every 10–30 seconds from here
- Decide where to stop: just after first crack = light, between cracks = medium, second crack = dark
- Cool fast: tip the beans between two colanders and cool quickly with a fan (to stop residual roasting from carryover heat)
- Rest: don’t brew right away; degas for 1–3 days (below)
Roasting produces a lot of smoke and “chaff” (silverskin). Smoke increases especially after first crack, so always work under a range hood, by a window, or outdoors. Chaff scatters, so over the sink is safest. Never leave the heat, and watch carefully for smoke and ignition on dark roasts.
Five variables that make a roast consistent
- Heat (energy): high roasts fast and dark, low is gentle; too high scorches the surface and leaves the core raw
- Time: aim for 8–15 minutes total. Too fast or too slow and the taste falls apart
- Agitation (movement): stopping is the biggest cause of unevenness; keep it moving evenly
- Air (exhaust): for hot-air methods, airflow is key — it carries off chaff and evens the heat
- Batch size: more beans means heat reaches them less easily; start small and prioritize repeatability
Don’t drink it right away — the “degassing” time
Freshly roasted beans hold a lot of carbon dioxide (CO2); brew them at once and they repel the water, brewing unevenly and tasting harsh. Rest them 1–3 days (degassing) before brewing and the taste settles into its true form. Light roasts a bit longer, dark roasts a bit shorter, as a guide. See the fresh-roast drinking window for details.
Common failures and fixes
Uneven roast / raw core
- Cause 1: too little agitation → keep it moving constantly
- Cause 2: roasting too much at once → reduce the batch size (start at 100g)
- Cause 3: heat too high → the surface runs ahead and the core stays raw; lower the heat and take more time
Too light, grassy or sour
- Cause 1: stopped before first crack → at minimum carry it well through first crack
- Cause 2: inadequate drying (moisture removal) → don’t rush the early phase
- Fix: try one step darker and compare the change in taste
“Baked” — a flat, lifeless taste
Too low a heat or too long a time gives a flat, “baked” taste with no aroma or sweetness. The cause is dawdling with the heat before the necessary reactions proceed. Next time, raise the heat a little and aim for a crisp, deliberate rise in temperature.
Frequently asked questions
Is home roasting cost-effective?
The longer you do it, the better. Green beans are cheaper than roasted, and a hand-net costs only a few thousand yen to start. But early on there’s loss from failed roasts and the time it takes, so it’s realistic to make “freshness and fun,” not “savings,” your main goal. As your skill grows, the value follows.
Are smoke and odor a problem?
Honestly, there’s a fair amount of smoke and smell — especially dark roasts and after first crack. Working under a range hood, by a window, or ideally outdoors or on a balcony keeps it manageable. In an apartment, be considerate of neighbors. Small light-to-medium roasts produce relatively little smoke.
What should I buy first?
Start with a hand-net (ginnan roaster) plus a small green-bean sampler. For a few thousand yen total you can learn the sound, aroma and color of roasting with your body. Move on to hot-air or a dedicated roaster once you’re hooked, and you’ll waste nothing. If you want easier grinding, consider a grinder too.
Home roasting turns coffee from something you “buy” into something you “make.” The first few rounds can be full of unevenness — that’s fine. As you chase the color, sound and aroma, your own preferred stopping point comes into view. A cup brewed from beans roasted fresh and rested 1–3 days carries a freshness and sense of accomplishment you’ll never get from a store-bought bag.
Was this article helpful?
Choose & compare
Related links
More articles