The Complete Guide to Outdoor Coffee — The Finest Cup by Mountain and Campfire
From the boldness of cowboy coffee to the nostalgia of the percolator and the quiet excellence of the AeroPress — gear choices, the science of boiling points at altitude, and caring for nature: everything about brewing outside
Why does a cup drunk on a summit taste so extraordinary? Clear air and a sense of achievement are spices, of course — but outdoor coffee also carries science and craft that differ from a cup at home. This article traces the lineage from frontier-era cowboy coffee to today’s ultralight gear, how to choose among boiling, immersion and drip styles, the “mountain extraction science” of boiling points falling with altitude, and the practicalities of carrying beans and packing out grounds. Slip this article’s knowledge into your pack before the next camp or climb.
Contents · 9
- From the cowboy’s pot to ultralight gear — a lineage of outdoor coffee
- Choose your style first — bold, or precise?
- The boldness of boiling — cowboy coffee and the percolator
- The steadiness of immersion — French press and AeroPress
- Gear for the drip faithful — packing your home cup
- The science of altitude — water boils differently up high
- Caring for nature — grounds and trash
- Small crafts that perfect the mountain cup
- Frequently asked questions
A cup of coffee drunk on a summit stays with you longer than one from any famous café — anyone who loves the outdoors will nod at that. Clear air, a breather after sweat, the smell of a campfire. On top of location, the greatest seasoning of all, outdoor coffee has its own techniques and science, different from home. How do you brew with limited gear? How does water temperature change with altitude? How do you deal with grounds and trash? This article gathers the history, gear, science and manners of brewing outside, all at once. Know the basics of hand drip and the applications get much easier.
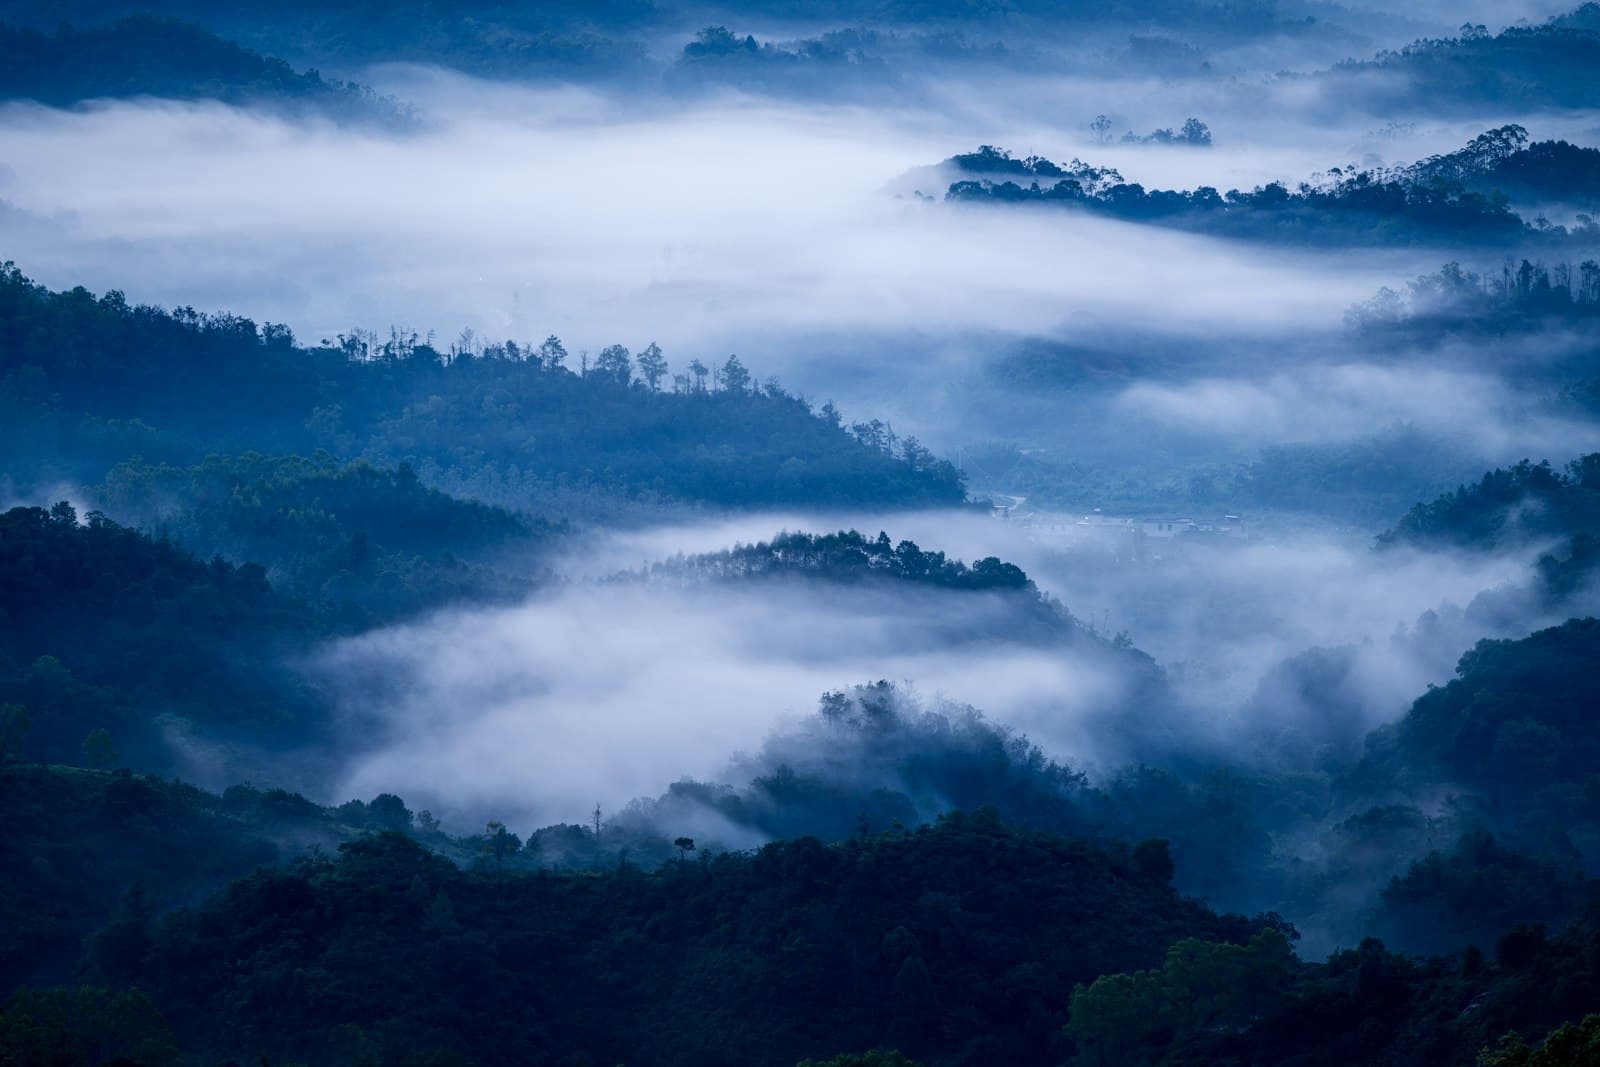
From the cowboy’s pot to ultralight gear — a lineage of outdoor coffee
The origin of outdoor coffee is the “cowboy coffee” of 19th-century frontier America. Men driving cattle tossed coarse grounds straight into a pot over the fire, boiled it up, and drank the top. One pot; nothing else. This bold method actually belongs to the same boiled-coffee lineage as the world’s oldest way of brewing — Turkish coffee. In the late 19th century the percolator, which cycles boiling water through the grounds, spread widely and became the 20th-century campground standard. And today, folding drippers, portable mills and the unbreakable AeroPress have arrived — an era when specialty-grade coffee can be brewed on a mountaintop. The gear evolves, but the original appeal — brewing with nothing but fire, water and grounds — has not changed.
Choose your style first — bold, or precise?
Outdoor brewing methods split into three broad families: “boiling” in a pot or kettle, “immersion” where grounds steep in water, and “drip,” filtered just as at home. None is the correct answer; your trip decides. Shaving every gram on a traverse? Immersion or instant. Relaxing at a drive-in campsite? Boiled styles are part theater, and that is the fun. Serving a crowd? A percolator or a large French press is efficient.
- Boiling (cowboy, percolator): minimal gear, bold flavor, great for groups. Control is coarse
- Immersion (French press, AeroPress): steady results with no technique needed. The AeroPress is light and unbreakable
- Drip (folding drippers): your home cup, carried into the hills. A little more gear and effort
- No-fuss options (drip bags, instant): lightest and fastest. Also the perfect bad-weather insurance
The boldness of boiling — cowboy coffee and the percolator
Cowboy coffee is simple. Boil water in a pot for the group, take it off the heat and wait a moment (water straight off the boil pulls too much bitterness), then add coarse grounds — as a guide, about 10g per 180ml of water. Wait 2–4 minutes for the grounds to settle, then pour the top off gently into cups. The traditional trick is a splash of cold water to help the grounds sink. With no filter, you drink the oils and all — a cup full of wild character. Grind coarse, and then coarser — fine particles never settle and turn the cup gritty. Remember the basics of grind size.
The percolator cycles boiling water up a tube and over a basket of grounds, again and again. The bubbling knock of the pot and the drifting aroma are campsite folklore. But by design it pours near-boiling water over the same grounds repeatedly, so left alone it will over-extract without fail. The trick: once color starts showing in the clear knob, take it off the heat within 3–4 minutes, and use a coarse grind. It is a “coarse flavor, maximum atmosphere” device — dark-roast beans brewed strong suit it best. See choosing a roast level.
Handling open flame comes before coffee. Many campgrounds and mountain areas prohibit ground fires — use a fire stand as a rule. On windy days use a windscreen with your burner, and confirm embers and ash are fully out after cooking. In the mountains, “coffee time ends when the fire is out.”
The steadiness of immersion — French press and AeroPress
For those who refuse to compromise on taste but claim no technique, immersion is ideal. Combine grounds and water, wait a set time — no pouring skill required, and the flavor holds steady even in a cold wind. The French press completes the job with a single device, and its oil-rich, full body suits a campfire. And the modern favorite among mountain folk is the AeroPress: plastic and unbreakable, well under 200g, its air-pressure-driven cup so clean that some call it “the best quality you can drink on a mountain.” Filters and grounds pack inside its own parts — another reason climbers love it.
Gear for the drip faithful — packing your home cup
For those who want their usual hand drip on the trail, excellent packable gear exists. Wire-frame drippers that spring open and silicone ones that fold flat slip into a pack’s gaps. The hard part is the pour. Carrying a gooseneck kettle up a mountain is unrealistic, so the practical answers are to practice a thin pour off the lip of a sierra cup or cooker, or to use a small clip-on spout attachment. Keep the beans-to-water ratio with a measuring spoon standing in for a scale, and a mountain cup comes surprisingly close to home.
- Portable mill: freshly ground aroma shines brightest on a mountain. Vertical types with stowable handles are standard
- Folding dripper: wire, silicone or flat-pack panel types — pick your favorite
- Paper filters: a few in a zip bag. Pack used ones out, so bring a trash bag as a set
- Measuring spoon: your stand-in scale. Confirm at home what a heaping spoon of beans weighs (about 10g)
- Insulated bottle: spare hot water for seconds, and a warm home for the brewed coffee — the trail’s best supporting actor
The science of altitude — water boils differently up high
Now for the extraction science only the outdoors can offer. As altitude rises, air pressure falls — and with it, the boiling point of water. The rule of thumb: about 1°C lower for every 300m of altitude. At 2,000m, no amount of boiling will push water past about 93°C. On the summit of Mt. Fuji (3,776m), it is roughly 88°C. On flat land the iron rule was “wait a minute or two after the boil because the water is too hot” — but at altitude, the reverse holds: water fresh off the boil is exactly at temperature. That is the fun of brewing in the mountains.
This shift in boiling point is also a hint for choosing beans. Cooler water extracts less bitterness, so acidity stands out in relative terms — brew a light roast high on a mountain and it can come out “sour.” At high altitude, medium-dark to dark roasts that give up their flavor even at lower temperatures are the happy match. At mere highland altitudes, though, you can enjoy a light roast’s brilliance with water straight off the boil. The principle from the science of water temperature — temperature is the accelerator of extraction — gets adjusted for you, automatically, by the terrain.
Securing water is part of the flavor. Always follow local guidance for mountain springs and streams, and boil or use a portable filter when potability is unclear. Japan’s mountain water is mostly soft — a fine match for coffee — and “a cup brewed with water from this very stream” is outdoor coffee’s greatest luxury. Read how water quality shapes coffee to enjoy it fully.
Caring for nature — grounds and trash
Outdoor coffee ends with the cleanup. It is tempting to scatter coffee grounds — “they’re natural, after all” — but the rule is to pack them out. Grounds take a long time to break down, and their smell can draw wildlife. Caffeine also inhibits plant growth, so to the local ecosystem the grounds are a foreign substance. Used paper filters go home with you too, of course. Dedicate one zip-seal bag to grounds and nothing leaks. Add a small cloth to wipe your cup, and “leave it more beautiful than you found it” becomes the coffee lover’s code.
Small crafts that perfect the mountain cup
Finally, some accumulated wisdom. Weigh out beans at home into single-serve portions, and the fuss of measuring from a bag in the wind disappears. Carrying whole beans and grinding on site is the ideal — but if you are cutting weight, “grind the night before departure and seal tight” is the realistic compromise that minimizes aroma loss (see the basics of storing beans). In cold seasons, pre-warming the cup with hot water transforms how long the drinking window lasts. And above all: don’t race the clock. Those few minutes waiting for water to boil, listening to the mountain’s quiet — that may be outdoor coffee’s most important ingredient.
Frequently asked questions
What is the most foolproof brewing method for a camping beginner?
Immersion — the AeroPress or the French press. You combine grounds and water and wait a set time, so no pouring technique is needed and the flavor stays steady even outdoors in wind. The AeroPress in particular is plastic (unbreakable), light, and stores grounds and filters inside its own parts, making it ideal for travel. For an even easier path, carry drip bags as insurance — whatever the weather, a hot cup is guaranteed.
I hear percolator coffee is “bad.” Is that true?
It is true that left unattended it over-extracts into something bitter and muddy — but with a few tricks it brews plenty well. Three points: use a coarse grind, take it off the heat within 3–4 minutes of color appearing in the clear knob, and never let it keep boiling hard. By design it will never be a “clean” cup, but a percolator brew of dark-roast beans, taken with the mood of the campfire, is one of camping’s great pleasures.
Is it my imagination, or does coffee taste different on a mountain?
Not your imagination. As altitude rises, air pressure falls and the boiling point of water drops about 1°C per 300m. At 2,000m water tops out around 93°C; on Mt. Fuji’s summit, around 88°C. Cooler water extracts less bitterness and lets acidity stand out, so the same beans brew lighter and crisper (with some beans, sourer) than at sea level. Above roughly 2,000m, choosing medium-dark or darker roasts keeps the cup balanced at lower water temperatures.
Should I grind my beans before I go?
For flavor, carry whole beans and grind on site with a portable mill — ground coffee loses aroma several times faster. But on a climb where every gram counts, leaving the mill behind is a fair call. In that case grind just before departure (the night before or that morning), pack the grounds in a sealed bag or small tin with the air pressed out, and the aroma loss stays minimal. For multi-day trips, divide into single-serve portions to cut both oxidation and fuss.
Can I bury coffee grounds in the soil?
As a rule, pack them out. Coffee grounds are natural but slow to decompose, and their smell can attract wildlife. The caffeine remaining in grounds also suppresses plant growth, making them a foreign substance to the local ecosystem. Dedicate a zip-seal bag to grounds and they carry out without leaking. Used paper filters follow the same rule — pack them out.
My coffee goes cold instantly in winter. Any countermeasures?
Three crafts make a real difference. First, pre-warm the cup with hot water before brewing — a frozen metal cup steals the coffee’s heat in an instant. Second, use vacuum-insulated mugs and bottles; transfer the fresh brew to a thermos and it stays hot while you move. Third, brew slightly strong — flavor reads thinner as coffee cools, so a margin of strength keeps the last sip as good as the first.
With gear this simple, the quality of the water, the freshness of the beans, and the unhurried time you give it pour straight into the cup — the outdoors is where coffee stands most naked. The crack of the fire, the steam while you wait for the boil, fresh-ground aroma mixing into cold mountain air. Since the days when cowboys brewed in a single pot, the heart of the appeal has not changed at all. Next day off, slip a mill and some beans into your pack — and turn your favorite view into the best café on Earth.
Was this article helpful?
Choose & compare
Related links
References
More articles
The Science of Extraction — What, and How, Hot Water Draws Out of Coffee: Dissolution, Diffusion and Yield
BrewingComplete Guide to Nel Drip — The Kissaten’s “Velvety Cup” at Home
BrewingThe Complete Guide to Dialing In Espresso: The Science of Fixing Sour and Bitter Yourself
BrewingThe Coffee-to-Water Ratio: Set Your Flavor by the Numbers, From One Cup to a Crowd